Clipping, plans and measuring
Clipping box
View › Clipping box puts a box around the model with a coloured arrow on each face. Drag an arrow to move that face in or out: everything outside the box is cut away. Where a cut passes through a solid, the cut face is capped, so solids look solid.
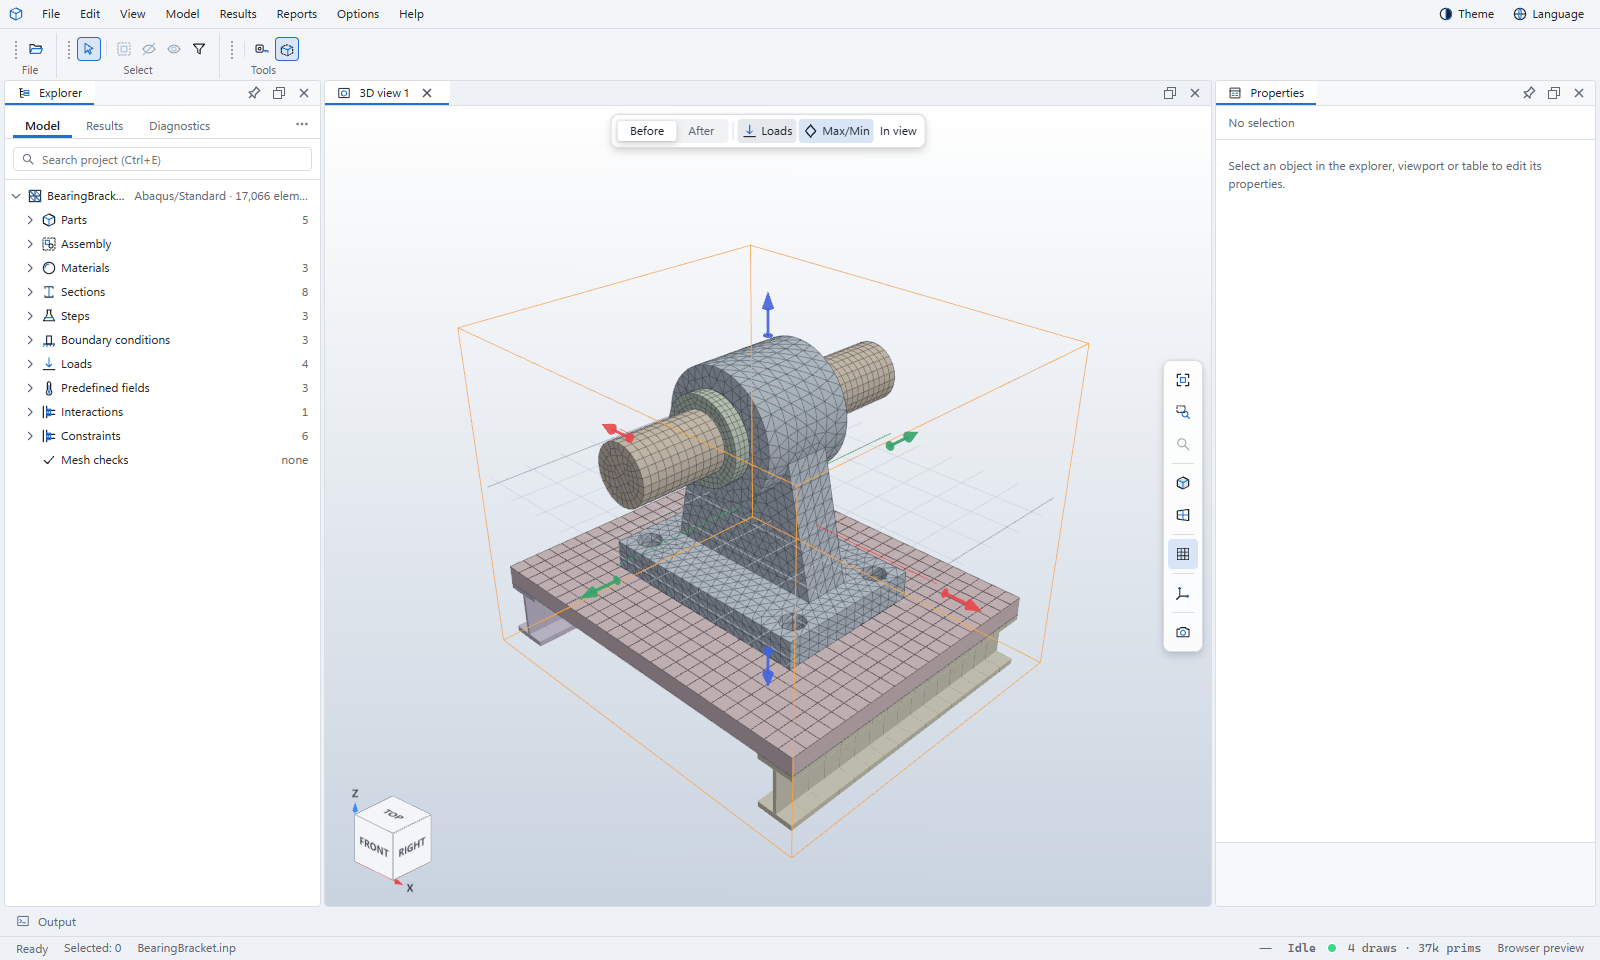
- View › Clipping arrows hides the arrows while keeping the cut, for a clean picture.
- View › Reset clipping box puts the box back around the whole model.
- Choose View › Clipping box again to turn it off.
Every 3D view shares the same clipping box.
Plan views
View › Choose a level lists the storeys of the model. Pick one to look straight down on it, cut 1.2 m above the floor, in orthographic projection. View › Leave returns to the 3D model.
Tape measure
View › Tape measure (T) measures between two points. As you move, the cursor snaps to corners, edges and faces.
- Press →, ← or ↑ to lock the measurement to the X (red), Y (green) or Z (blue) axis; ↓ releases it.
- Hold Shift to keep the current snap.
- Tap Ctrl to leave a guide line behind. View › Delete guides removes them.
- Esc stops measuring.
Grid and axes
Options › Grid (G) shows or hides the ground grid. The coordinate-systems button on the camera rail shows the global axes and, for members, their local axes.
Screenshots
The camera button at the bottom of the camera rail saves the 3D view as a PNG image, with the colour key and labels.